
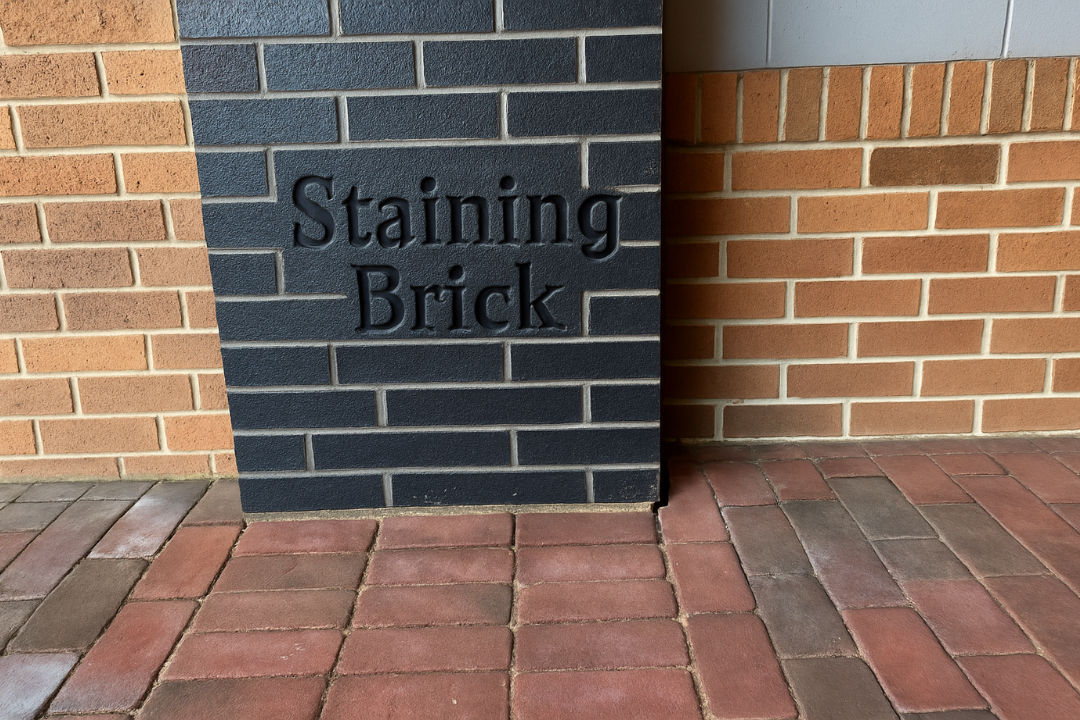
Staining Brick
Staining brick is one of the most effective ways to transform a home’s appearance without the high cost of replacement or the long-term drawbacks of paint. Whether you are updating your exterior façade, restoring old fireplace brick, or modernizing outdated interior surfaces, brick stain provides a permanent, breathable, natural-looking finish that enhances both durability and curb appeal.
This complete guide covers everything homeowners need to know about staining brick, including material selection, essential tools, surface preparation, application techniques, ideal weather conditions, maintenance requirements, and how to ensure long-lasting color. Written in easy-to-understand language, it serves as a professional handbook for both beginners and DIY homeowners.
| Category | Key Details |
| Purpose of Brick Staining | Enhances color, modernizes appearance, preserves natural texture, and offers a long-lasting alternative to paint. |
| Best Stain Types | Water-based stain, mineral/silicate stain, acrylic stain, tinted sealer (optional) |
| Essential Tools | Brushes, rollers, sprayer, wire brush, cleaner/TSP, drop cloths, painter’s tape, gloves, moisture meter |
| Surface Preparation | Clean brick thoroughly, repair cracks, remove paint/sealants, test porosity, and mask surroundings. |
| Application Methods | Brush for detailed control, roller for smooth surfaces, sprayer for large exteriors; test patch required |
| Ideal Weather Conditions | Temperature 50–90°F, low humidity, overcast or shaded, no rain for 24–48 hours |
| Drying Time | Touch dry in 1 hour; fully cured in 24–48 hours. |
| Longevity | 15–30+ years, depending on stain type and climate |
| Common Mistakes to Avoid | Not cleaning the brick, staining in the hot sun, skipping a test patch, using too-thick coatings, and staining sealed brick. |
| Maintenance | Light cleaning twice a year, optional sealer reapplication every 3–5 years |
| DIY Cost Estimate | $0.70–$1.50 per sq. ft. |
| Professional Cost Estimate | $2.50–$4.50 per sq. ft. |
| Best Use Cases | Exterior walls, fireplaces, interior accent walls, patios, walkways |
Why Stain Brick?

Before diving into the details, let’s explore why staining brick is an appealing option:
- Aesthetics: Staining can dramatically change the look of your façade, helping it better match your personal style or the surrounding environment.
- Durability: Properly stained bricks can last for many years, resisting fading from sunlight and weather.
- Cost-Effectiveness: Staining is generally less expensive than repainting or replacing bricks entirely.
- Improved Protection: Stains often come with sealants that protect against moisture, mold, and mildew.
Understanding Brick and Types of Stains
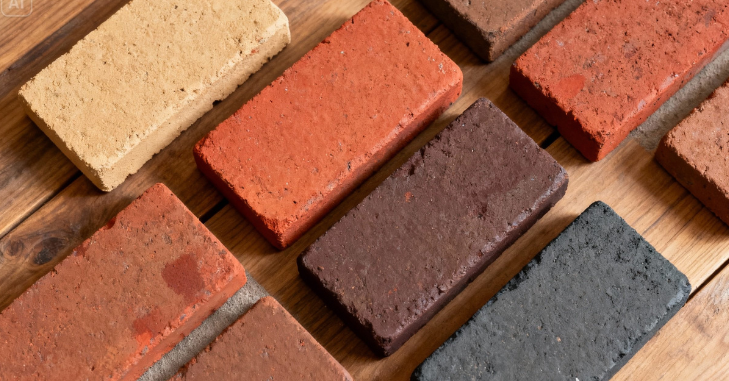
When it comes to staining brick, knowing the types of brick and the available stain options can help you choose the right products for your project.
Types of Brick
- Standard Clay Bricks: These are the most common and usually absorb stains well.
- Concrete Bricks: These can be more challenging to stain because of their dense surface. They often require a special stain or surface preparation.
- Mortar: While technically not brick, the mortar type can affect the overall look after staining.
Types of Stains
There are two main types of stains to consider:
- Acrylic Stains: These are water-based and penetrate the brick easily. They offer a wide range of colors and are easier to apply.
- Silicate Stains: These are mineral-based and chemically bond to the brick surface. They are often more durable and less prone to fading over time.
Comparison of Stain Types
| Type of Stain | Base | Durability | Color Range | Application Method |
| Acrylic Stains | Water | Moderate | Wide | Brush, Roller, Sprayer |
| Silicate Stains | Mineral | High | Limited | Brush, Sprayer |
Tools and Materials Needed
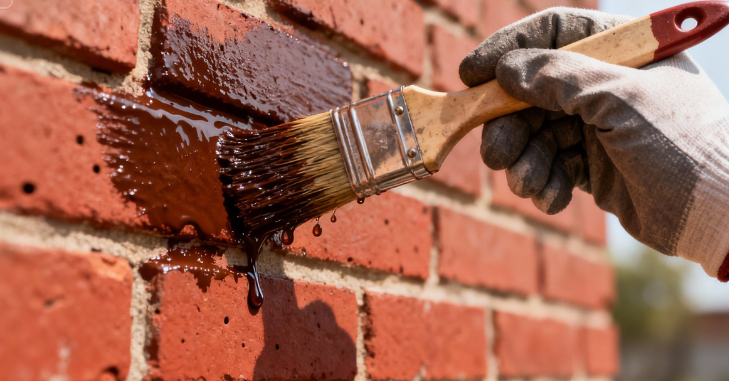
Having the right tools and materials is essential for a successful staining project. Here’s a list to get you started:
Essential Tools
To effectively stain brick, having the right tools is crucial. Start with a stain applicator, choosing between brushes, rollers, or a sprayer based on your project scale and personal preference. Additionally, drop cloths are essential to protect surrounding areas from drips and spills during application. Use painter’s tape to mask off sections you don’t want to stain, ensuring clean lines and minimizing overspray.
Cleaning tools, such as a pressure washer or a stiff brush, are essential for surface preparation, allowing you to thoroughly clean the brick before staining. Lastly, don’t forget to wear safety gear, including gloves, goggles, and a mask, to protect yourself from fumes and splatters during the staining process.
Stain Materials
When it comes to materials, start with brick stain, selecting a product specifically formulated for your brick type to ensure proper adhesion and color quality. An optional clear sealer can provide additional protection after staining, enhancing durability and longevity by shielding the stained surface from moisture and weather-related damage.
Preparing the Surface
Proper preparation is key to achieving a long-lasting finish. Follow these steps to prepare your brick surface for staining:
Clean the Brick
Before applying any stain, the brick surface must be thoroughly cleaned. Utilize a pressure washer or a brush to remove dirt, grime, and any previous coatings that may hinder stain adhesion. After cleaning, ensure that the surface is dry before advancing to the next step.
Repair Any Damage
Scrutinize your bricks for cracks or other damage. Addressing these issues is vital before proceeding with staining to ensure an even application across the surface.
Test the Stain
Always test the stain on a small, inconspicuous area to see how it reacts with your bricks. This preliminary test will provide insight into the final appearance and allow you to adjust your stain choice if necessary, preventing any unwanted surprises once the complete application is underway.
Weather Conditions for Staining

Weather plays a crucial role in the staining process. Here are the optimal conditions to keep in mind:
- The ideal temperature is between 50°F and 90°F (10°C to 32°C). Avoid staining in extreme temperatures, as they can affect the stain’s adhesion and drying time.
- High humidity can slow down the drying process and may lead to uneven staining. Aim for a day with low to moderate moisture for best results.
- Staining on windy days can cause the stain to dry too quickly, leading to uneven application. Choose a calm day for staining.
Applying the Stain
Once the preparation is complete, it’s time to apply the stain.
Application Techniques
- Start from the Top: Begin applying the stain at the top of the brick surface and work your way down to avoid drips.
- Use Even Strokes: Whether you brush, roll, or spray, aim for even strokes to achieve a consistent color.
- Multiple Coats: Depending on the desired color intensity, you may need to apply multiple coats. Allow each coat to dry thoroughly before applying the next.
Clean Up
Clean your tools promptly with water for acrylic stains or the appropriate solvent for silicate stains. Dispose of any waste materials responsibly.
Color Longevity and Maintenance
Factors Affecting Color Longevity
Several factors can affect how long your stain will last:
- Sunlight Exposure: UV rays can fade stains over time, especially if using acrylic stains.
- Weather Elements: Rain, snow, and temperature fluctuations can impact the lifespan of a stain.
- Brick Type: Different brick types absorb stains differently, affecting longevity.
Maintenance Tips
To keep your stained brick looking fresh, follow these maintenance tips:
- Regular Cleaning: Periodically wash the brick with a gentle soap solution and rinse thoroughly. Avoid harsh chemicals that may break down the stain.
- Inspect for Damage: Routinely check for signs of wear or fading and address them promptly.
- Reapply Stain as Needed: Depending on the stain’s quality and environmental conditions, you may need to reapply every 5 to 10 years.
Conclusion
Staining brick is an accessible and effective way to enhance your home’s aesthetic appeal. By understanding the materials, tools, weather considerations, and maintenance protocols, you can achieve a stunning finish that lasts for years.
Whether you choose to take on the project yourself or enlist professionals, this guide should empower you to make informed decisions about your brick staining project. With proper preparation and care, your newly stained brick can add beauty and long-term protection to your property.
If you want to read an interesting article about it, explore our Home Improvement category.
FAQs
Brick stain typically lasts 15–30 years, depending on stain quality, weather exposure, and maintenance.
Most porous bricks can be stained. However, painted, sealed, or glazed bricks must be stripped or prepped before the stain can absorb properly.
Sealing is optional. It is recommended for exterior walls, patios, and high-moisture areas to improve durability and UV resistance.
Stain can do both. Specialized stains allow lightening, darkening, tinting, or neutral color blending depending on the desired finish.